
DIY How to Make a Brooch Display Board

I love brooches! As well as designing my own Jubly-Umph brooches I have quite a vast collection of antique and vintage pieces as well as a brooch or two from other indie designers.
I have sooo many brooches that I was pondering how they should be displayed so I can see and use them all the time. I was recently inspired by THIS DIY brooch display board made by the lovely Amanda from Junebugs & Georgia Peaches and wanted to try making my own with materials I had around the house.
My board is designed so that, as well as displaying brooches and lapel pins, I can also attach my favourite hair flowers and hair clips.
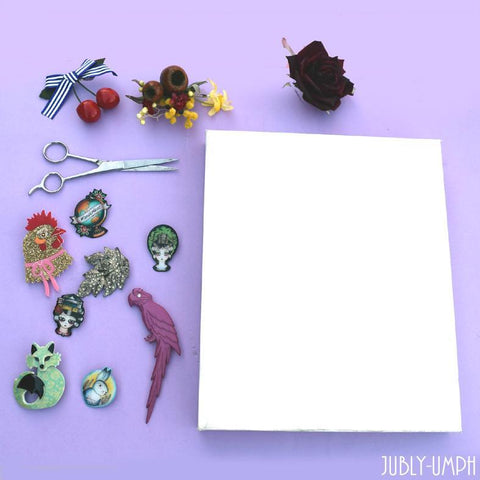
What You Need
1. Art canvas
2. Material
3. Ribbon
4. Hot glue gun and glue
5. Scissors
Lets get started...
DIY Brooch Board Directions
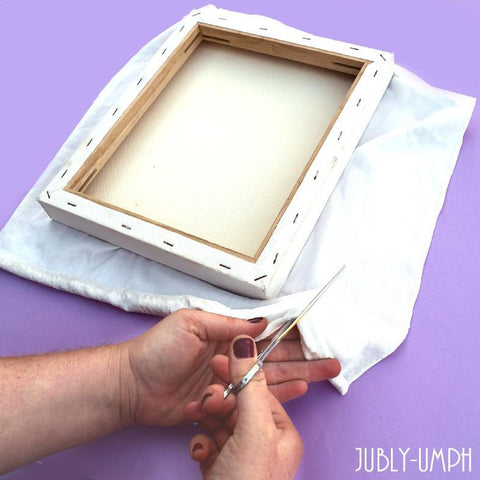
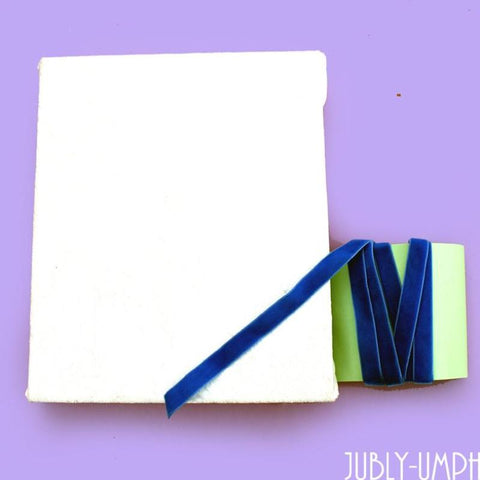
1. Grab your canvas and measure your material around the edge. Cut the material so there is enough room for it to fold around the back. I have used a lovely piece of white velvet that I found in my sewing box and an old scuffed canvas from an art project that never happened.
You can buy cheap canvases from art stores or dollar shops if you don't have one on hand. And opportunity shops always have a pile of material scraps that they sell for $0.50 or $1
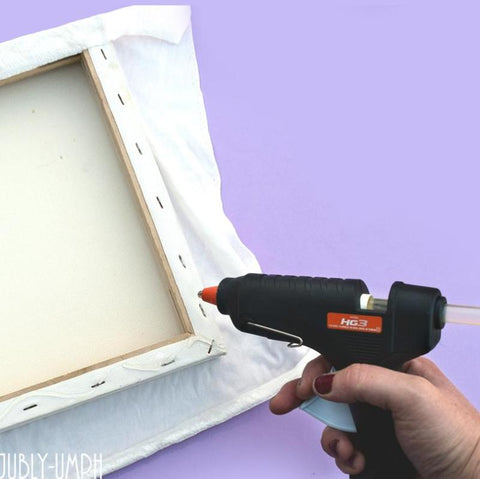
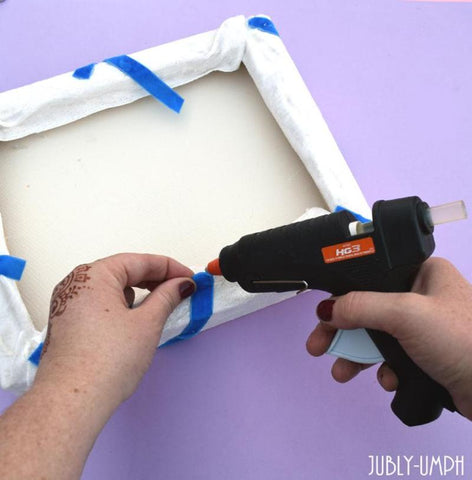
2. Use your hot glue gun the glue the material to the back of the canvas. Fold the edge tightly at the corners to reduce bumps. Watch out for the glue because I managed to get it all over me when I was rushing and it is HOT!
3. Next, measure out your ribbon so that it will cover the frame in a cross hatch pattern. You will want to use 5-6 pieces of ribbon depending on the size of your frame.
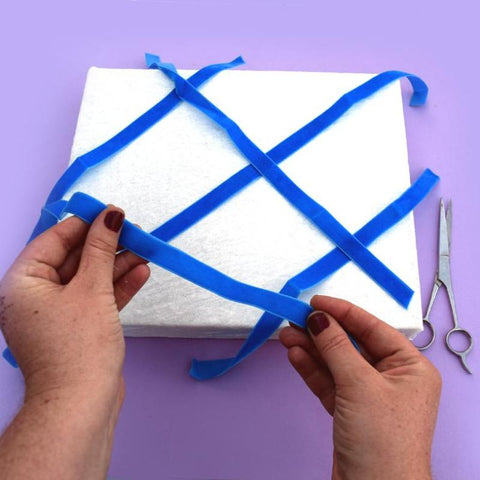
4. Glue the ribbon pieces at the back one at a time. Check each one as you add it that it is in the right place. You may also wish to add a dob of glue in between the ribbon as it crosses over. This will stop the brooch, pins or hair flowers sliding around once they are on the board.
5. Its Done!! Woo hoo! Attach your favourite Jubly-Umph pins and brooches and away you go! Display your brooch board on a shelf or dressing table to attach hooks to hang it on the wall!


